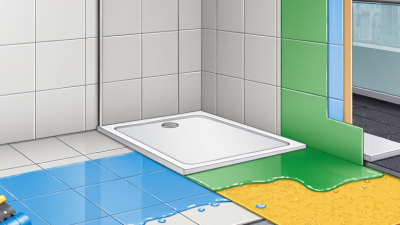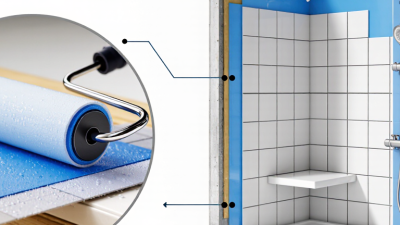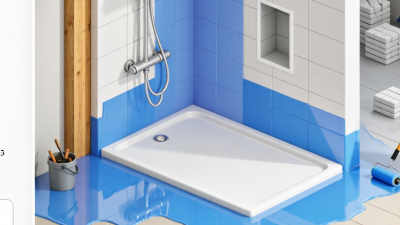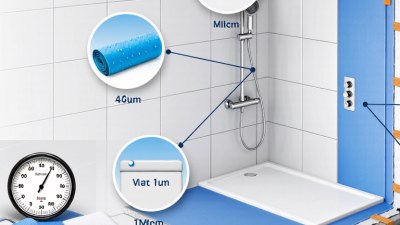



An over tile waterproofing membrane is a protective layer installed over existing tile to help limit water intrusion. It can be useful when removing sound, firmly bonded tile would create unnecessary cost or disruption. But it is not a shortcut around inspection. Loose tiles, cracked grout, damp substrates, and failed movement joints can undermine the new system before it is finished.
Tile consultant Michael Byrne’s practical guidance can be paraphrased this way: “A waterproofing system depends on sound preparation and careful detailing.” Treat that as a principle, not a promise that every surface is suitable. The installer must check whether the membrane bonds to the tile, whether the floor or wall is stable, and whether corners, drains, and edges can be sealed with compatible components. A glossy tile surface may need specific preparation. Product instructions matter.
The details are easy to overlook. A neat coating across the center cannot compensate for a weak drain connection or an unsealed corner. And tile grout alone is not a reliable waterproof barrier. Before choosing an over tile waterproofing membrane, identify where water comes from and how the area will be used. A shower, balcony, and laundry room face different stresses. This guide explains the membrane’s purpose, suitable applications, installation considerations, and common limitations. Some existing surfaces may look sound but still hide moisture or movement. That uncertainty deserves an honest inspection, not optimism.
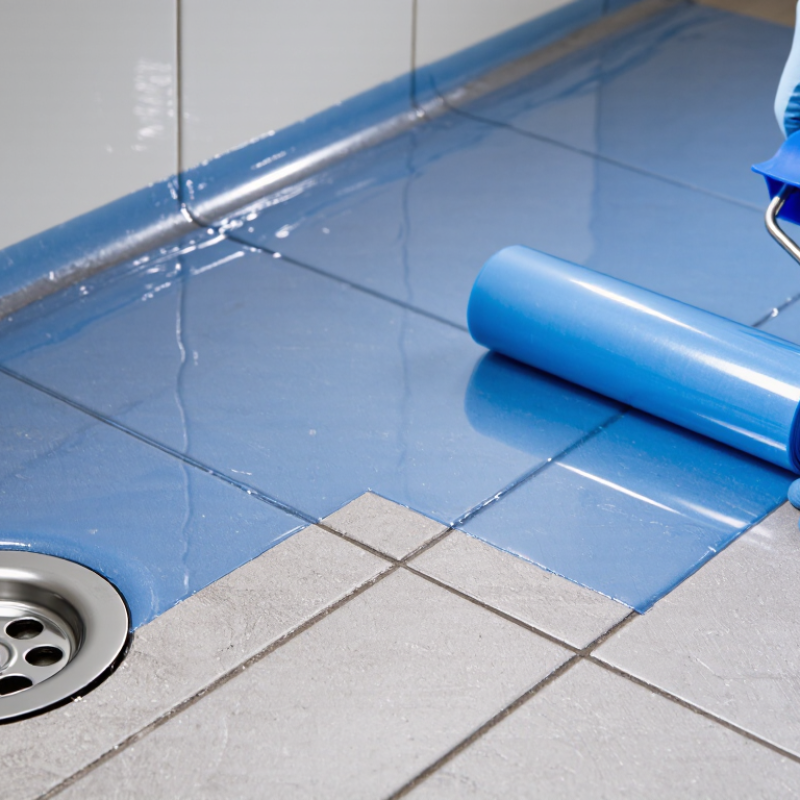
A waterproofing membrane over tile is a continuous layer installed on top of existing tile to limit water reaching the floor or wall beneath. It may be a liquid coating that cures into a film or a sheet bonded across the surface. It is not the same as grout sealer. Grout and tile joints can still admit moisture, and the membrane’s seams, corners, and drain connection need careful detailing. That distinction matters.
The surface must be sound, clean, and suitable for the chosen system; loose tiles, soap residue, and polished glaze can undermine adhesion. The Tile Council of North America’s Handbook treats waterproofing as part of a coordinated tile assembly, not a stand-alone coating. ANSI A118.10, the industry standard for bonded waterproof membranes, includes a seven-day hydrostatic-pressure test at 6 psi. That figure is a laboratory benchmark, not a guarantee that any coating will work over any tile. Not every floor qualifies. Check the system instructions for tile preparation, required thickness, curing time, and compatibility with new tile and drains. A missed corner can matter more than a perfectly coated open area.



Copyright © CUSTOM Building Products 2025
Products | Resources | Interactive Tools | Warranties | Privacy Policy | Terms of Use | Technical Training