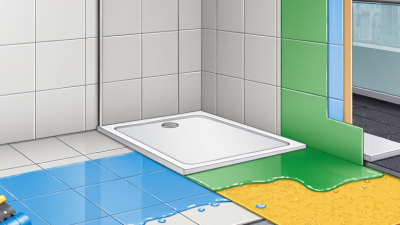
Top 10 Best Anti Fracture Membranes for Tile Buyers?
Choosing an anti fracture membrane is less about finding a magic layer and more about matching a product to the floor beneath it. A hairline crack in a concrete slab, a plywood subfloor with too much flex, and a damp basement each raise different questions. Buyers should compare movement claims, approved substrates, installation steps, coverage, and warranty conditions—not just price per roll. Small details matter. A dusty slab or missed seam can undermine an otherwise suitable system.
Tile-setting educator Michael Byrne is a useful reference for the fundamentals of installation. A responsible summary of that guidance is: “Prepare the substrate carefully; a membrane cannot make an unstable floor sound.” This is an editorial paraphrase, not a verified verbatim quotation. That distinction matters. Product decisions deserve evidence, not invented endorsements.
This guide compares ten commonly considered membrane options through a buyer’s lens. It looks at where each may fit, what installation demands, and which limitations deserve a closer read. One product may suit a compact bathroom renovation; another may be easier to specify across a larger floor. Check current manufacturer instructions before buying, since formulations and approved uses can change. The rankings are not a substitute for site assessment. And no shortlist can remove every risk. A careful installer, a sound substrate, and realistic expectations still carry the most weight.
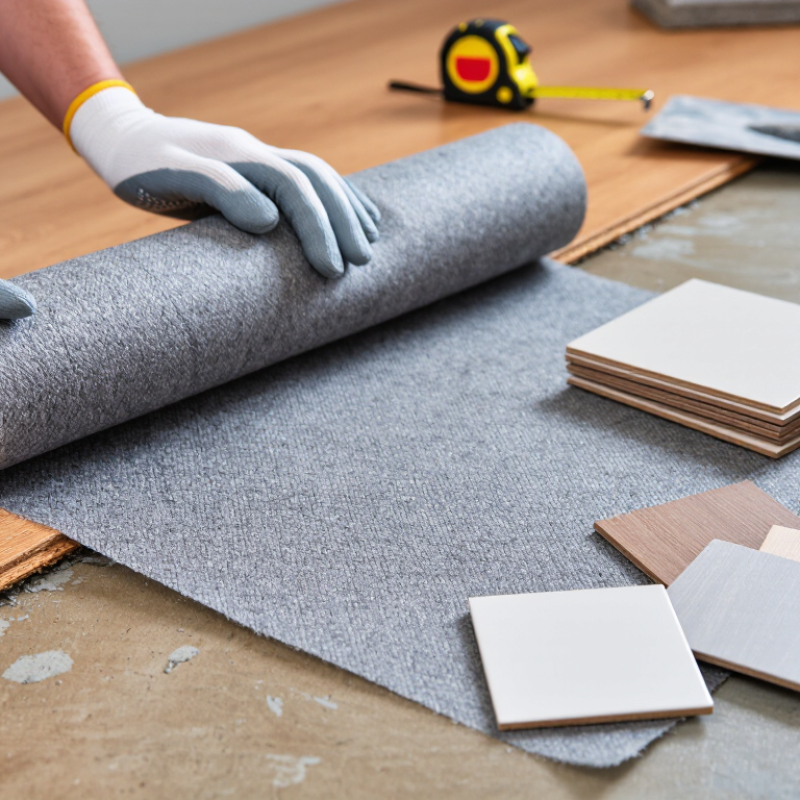
What Anti-Fracture Membranes Do Beneath Tile
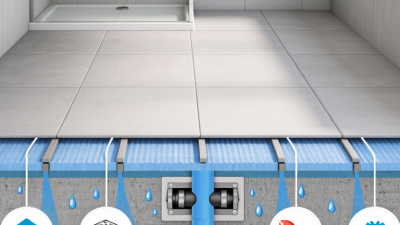
Beneath tile, an anti-fracture membrane acts as a flexible layer between the finished surface and the subfloor. Tile and grout are rigid; wood, concrete, and cement boards can shift slightly as temperatures and moisture levels change. The membrane helps limit how much minor substrate movement transfers into the tile. It does not make the floor motionless. Small cracks matter.
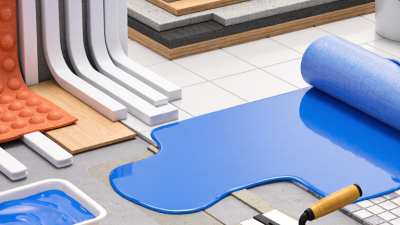
Some membranes use a sheet bonded to the floor, while others are applied as a liquid coating. Their materials and installation details differ, so coverage, thickness, and curing time should follow the product instructions. At a doorway, for example, an installer may need to keep the membrane continuous across the transition rather than leave a bare strip. Seams and corners deserve careful attention, too. Gaps can weaken the protective layer.
A membrane is not a substitute for a sound, properly prepared substrate. Loose boards, excessive deflection, or active structural cracks may still cause tile failure. Check the floor for movement, remove dust, and confirm that the mortar is compatible with both the membrane and tile. Some membranes also provide waterproofing, but not all do. That distinction is easy to miss. Even careful work has limits: a membrane can reduce risk, not guarantee a crack-free floor.
Types, Materials, and Performance Ratings Explained
Anti-fracture membranes are not all the same. Sheet products commonly use polyethylene, rubberized asphalt, or flexible composite layers. Liquid-applied membranes are usually polymer-based and form a coating after curing. Some mat systems also provide uncoupling, allowing limited movement between tile and substrate. They are related solutions, but their stated functions can differ.
Material affects handling and installation. Sheets give consistent thickness, but seams need careful treatment. Liquids fit around drains and corners, though coverage must be even. A thin spot can weaken protection. Follow the required drying time; rushing it is a common, costly mistake. Small details matter.
Performance ratings help compare products. In North America, ANSI A118.12 identifies crack-isolation membrane requirements, with classifications indicating different performance levels. Check the product’s actual test documentation and installation limits, not just a headline rating. The test result does not guarantee that every crack will stay hidden. Substrate movement, moisture, tile size, and workmanship still matter. I’d treat the rating as useful evidence, not a promise. That distinction is easy to overlook. Before buying, confirm that the membrane suits the substrate and intended tile installation.
How to Compare Membranes for Tile Projects
Top 10 Best Anti Fracture Membranes for Tile Buyers?
How to Compare Membranes for Tile Projects
Compare membranes by tested crack-bridging performance, not just price per roll. ANSI A118.12 classifies crack-isolation membranes by performance; its test evaluates movement across a controlled substrate crack, with high-performance products tested at a wider opening than standard-performance products. Check the product’s test classification and technical data sheet.
A membrane can reduce crack transfer, but it cannot repair an unstable or moving structure. That distinction is easy to overlook.
Next, compare installation details: approved substrates, required thickness, seam treatment, cure time, and tile-setting compatibility. The Tile Council of North America Handbook treats movement joints as part of tile-system design; a membrane does not replace them.
On a concrete floor, inspect for dust, moisture, and existing cracks before installation. A small missed patch can matter. So can a rushed cure.
Tips: Request current test documentation and compare coverage per unit, not package price alone. Check whether the listed performance matches your project conditions. The neatest specification sheet is not always the easiest installation; crews should confirm handling and drying requirements on site. I’d still leave room for judgment: real substrates are rarely as tidy as test samples.
Top 10 Anti-Fracture Membranes for Tile Buyers
Top 10 Anti-Fracture Membranes for Tile Buyers
Anti-fracture membranes help limit cracks in a substrate from transferring into tile, but no membrane can correct a moving or unstable floor. Ten common choices include uncoupling sheets, thin crack-isolation sheets, peel-and-stick membranes, fleece-backed sheets, liquid-applied elastomeric coatings, fabric-reinforced liquids, flexible cementitious coatings, rubberized sheets, sound-reducing uncoupling membranes, and combined waterproofing-and-crack-isolation systems. Each suits different conditions. Check the product’s approved substrates and tile types before buying.
Sheet membranes offer controlled thickness and easy visual coverage checks. Liquid coatings fit corners and awkward edges, though application thickness can be harder to judge. Some systems also reduce sound or block moisture. Useful, but not automatically better. A membrane that manages a small static crack may not accommodate structural movement. Follow the specified crack-width limits, primer requirements, and curing times; rushing these details can undermine the installation.
Compare coverage, seam treatment, installation tools, and compatibility with the mortar you plan to use. A pale coating can make missed spots easier to see, while a sheet’s seams need careful overlap or sealing as directed. Check whether the floor feels firm underfoot and whether movement joints must continue through the tile. One overlooked detail: membrane thickness can affect transitions at doorways. Read the technical data sheet, and ask a qualified tile professional when substrate movement or moisture is uncertain.
Choosing a Membrane for Your Substrate and Installation
Choosing an anti-fracture membrane starts with the substrate, not the tile.
Concrete can continue shrinking after it looks dry. ACI 209R guidance uses ultimate shrinkage estimates in the hundreds of microstrain; mix design, curing, and humidity affect the result. Check slab age, visible cracks, moisture, and existing movement joints before choosing a system.
A membrane may reduce stress transfer. No membrane stops everything.
For concrete, confirm the membrane is rated for the expected crack movement and is compatible with the surface condition. ANSI A118.12 sets performance tests for crack-isolation membranes, while the Tile Council of North America Handbook details installation methods and movement-joint practices. On wood, check the approved subfloor assembly and deflection limits; a flexible layer cannot make a weak floor rigid.
Keep required movement joints clear through the tile finish.
Small detail, big consequences.
Match the product form to the job: liquid coatings need the specified coverage and dry-film thickness, while sheets need fully bonded seams and edges. Follow cure times before setting tile, especially over cool or damp concrete.
I would not choose by thickness alone;
that shortcut feels tempting, but substrate preparation and installation quality often decide whether the system performs as intended.