
7 Tips for Choosing the Best Under Tile Membrane?

Choosing the Best Under Tile Membrane: Seven Practical Tips for a Safer, Longer-Lasting Installation

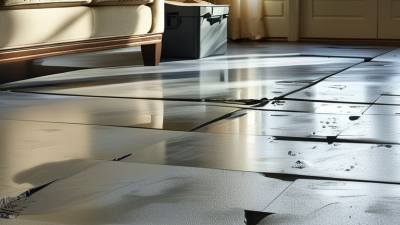
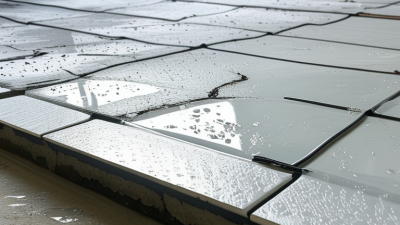
A bathroom floor can look flawless while moisture quietly reaches the subfloor. That hidden damage often begins with an unsuitable under tile membrane. The right membrane helps manage water, vapor, movement, and installation stress beneath ceramic or stone surfaces.

Tile installation educator David M. Gobis puts the principle plainly: “A waterproofing system is only as good as its installation.” His point matters on real job sites. A membrane may have excellent laboratory performance, yet fail around a drain, corner, or poorly sealed seam. Product quality cannot rescue careless detailing.

This guide examines seven useful selection points. They include waterproofing performance, vapor control, crack-bridging ability, thickness, compatibility, installation method, and manufacturer support. Look beyond attractive packaging. Check technical data, test standards, approved substrates, and coverage requirements. A roll membrane may suit a flat floor, while a liquid membrane can simplify irregular areas. Neither option is automatically superior.

Touch the substrate before choosing. Is it dusty, damp, uneven, or already cracked? Measure the room, inspect transition zones, and study the drain connection. Small details matter.

Some decisions remain imperfect. Product claims can sound clearer than actual site conditions. Manufacturer instructions may also leave practical questions unanswered. When uncertain, consult a qualified tile professional and request written guidance. A carefully selected under tile membrane is not merely another layer. It is part of a complete moisture-management system, and its success depends on matching the product with the floor, environment, and installer’s experience.
7 Tips for Choosing the Best Under Tile Membrane?

Understanding the Purpose of an Under-Tile Membrane

Understanding the Purpose of an Under-Tile Membrane

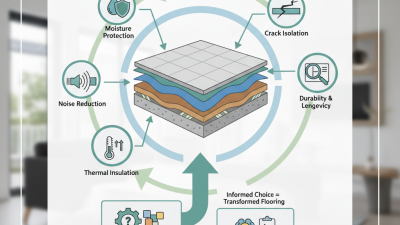
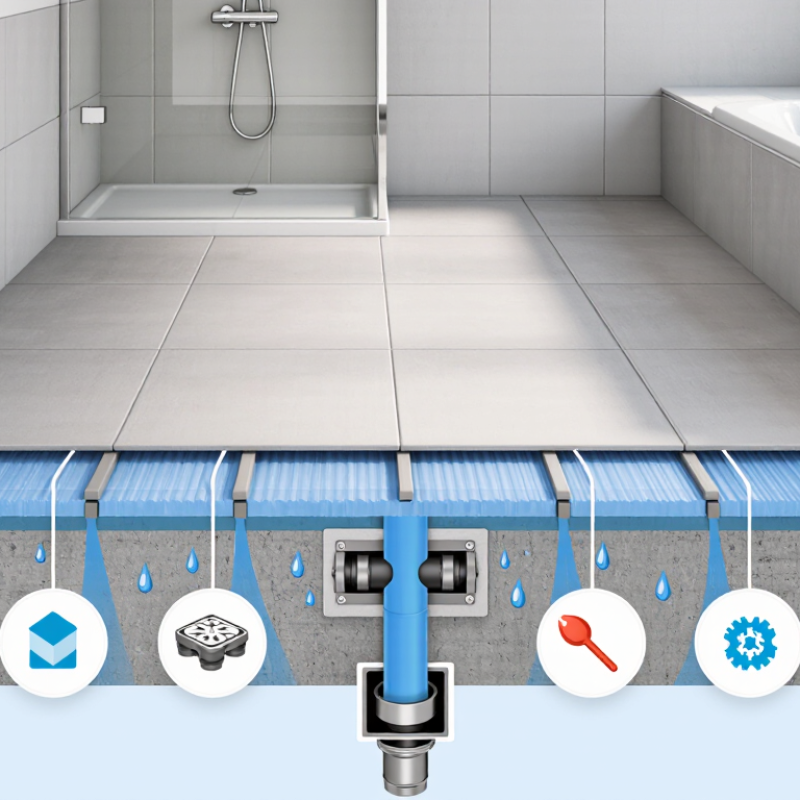
An under-tile membrane creates a controlled layer between tiles and the supporting surface. Its main purpose is moisture management. In bathrooms, water can pass through grout joints and reach the substrate below. A suitable membrane helps limit that movement and protects vulnerable materials from swelling, staining, or gradual decay.

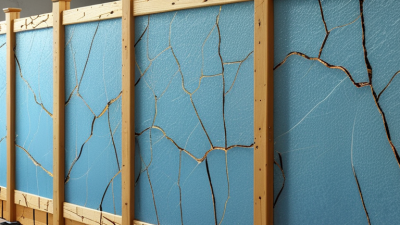
It can also reduce stress from minor substrate movement. Tiles are rigid, while timber floors and cement boards may expand or contract. The membrane absorbs some of this movement before cracks reach the tile surface. However, it is not a magic shield. Large structural movement still requires professional investigation. I have seen installations fail because the membrane was chosen correctly but fitted over dust, dampness, or loose adhesive.

The right choice depends on the room and the substrate. Wet areas usually need a tested waterproofing system, not only a basic crack-isolation sheet. Check installation instructions, seam treatment, drying times, and compatibility with the tile adhesive. Pay attention to corners, pipe openings, and wall-to-floor joints. These small details often become the weakest points.

Look for documented performance testing and clear technical guidance. A reliable installer should inspect the floor, measure uneven areas, and confirm that the surface is clean and stable. Do not assume thicker means better. That assumption can create height problems near doors and drains. In practice, careful preparation usually matters as much as the membrane itself.

7 Tips for Choosing the Best Under-Tile Membrane

Understanding the purpose of an under-tile membrane helps you select the right protection for movement, moisture, and substrate conditions.

1. Define the purpose
Choose waterproofing, crack isolation, uncoupling, sound reduction, or a combination of functions.
2. Check the substrate
Inspect concrete, plywood, backer board, and existing tile for movement, moisture, or damage.
3. Verify test standards
Look for relevant references such as ANSI A118.10 for waterproofing or ANSI A118.12 for crack isolation.
4. Match movement protection
For crack isolation, compare the membrane’s tested crack-bridging performance with expected substrate movement.
5. Consider wet-area exposure
Showers, bathrooms, balconies, and exterior installations require carefully specified moisture protection.
6. Confirm tile and adhesive compatibility
Ensure the membrane system is suitable for the tile type, mortar, grout, and installation method.
7. Follow installation requirements
Respect substrate preparation, coverage, seams, curing time, and movement-joint requirements.

The chart shows the crack-isolation test widths associated with the Standard Performance and High Performance classifications in ANSI A118.12. Always confirm the current product documentation and applicable local requirements.

Checking Substrate Conditions and Waterproofing Requirements

Before choosing an under tile membrane, inspect the substrate carefully. A dry surface is not always a sound surface. Check for cracks, dust, loose adhesive, moisture staining, and uneven areas. Press questionable spots with a blunt tool. Hollow sounds may indicate weak bonding. The substrate should be firm, clean, and reasonably flat. I have seen small surface defects become visible through large-format tiles. They rarely disappear during installation.

Tip 1: Match the membrane to the substrate. Concrete, plywood, and existing tile have different movement and preparation needs. Measure moisture when possible, especially in bathrooms, balconies, and laundry areas. Do not rely only on touch. A surface can feel dry while retaining harmful moisture.

Tip 2: Define the waterproofing requirement before buying materials. A shower floor needs stronger protection than a dry bedroom floor. Confirm whether the system must handle standing water, vapor, or occasional splashes. Read the installation instructions fully. Missing one seam or corner can weaken the entire barrier.

Tip 3: Plan the details, not just the sheet. Seal changes in plane, drains, pipe openings, and wall joints with compatible accessories. Keep the membrane continuous around vulnerable areas.

Tip 4: Check movement risks. Timber substrates, heated floors, and unstable concrete may need crack-isolation performance. I sometimes prefer extra preparation over a thicker product, although that judgment depends on site conditions. Do not rush the installation. Even experienced installers can overlook a narrow gap beside a drain. Test the finished waterproofing where the system allows it, and record moisture readings before tiling.

Comparing Membrane Types, Materials, and Performance

Choosing an under tile membrane starts with the installation environment, not the product label. Sheet membranes offer consistent thickness and quick coverage, while liquid-applied membranes fit corners and irregular surfaces more easily. Cementitious coatings can feel robust, but they often need careful mixing and curing. Uncoupling membranes help manage movement between tile and substrate, although they may not provide complete waterproofing without sealed joints.

Compare materials closely. Polyethylene sheets are lightweight and resist water absorption. Elastomeric coatings can bridge small cracks, but application thickness matters greatly. Cement-based membranes may bond well to mineral surfaces, yet they can become brittle when the structure moves. Check technical data for elongation, crack-bridging ability, vapor permeability, drying time, and compatible adhesives. Numbers matter more than attractive claims.

I once saw a membrane fail beside a shower drain because the installer rushed the transition. Small details matter. Tip one: inspect the substrate for dust, moisture, and movement. Tip two: confirm the membrane matches the tile adhesive. Tip three: measure coverage, not just container size. Tip four: seal every seam and penetration. Tip five: respect curing times. Tip six: test a small area first. Tip seven: photograph hidden work for future repairs. Performance can change with temperature, humidity, and workmanship. A strong material still fails when the surface is poorly prepared. Local building requirements and independent test reports deserve attention, too.

7 Tips for Choosing the Best Under Tile Membrane? - Comparing Membrane Types, Materials, and Performance

Tip What to Evaluate Membrane Type / Material Typical Characteristics Performance Considerations Best-Fit Applications
1 Confirm the required protection level Waterproofing membrane Sheet or liquid-applied layer designed to limit water penetration through the tile assembly. For showers, wet rooms, balconies, and other water-exposed areas, select a system tested for tile waterproofing, commonly under ANSI A118.10 or an applicable local standard. Wet rooms, shower walls and floors, tub surrounds, and exterior tile areas where the substrate must be protected from moisture.
2 Match the membrane to movement risk Uncoupling membrane with polyethylene or composite structure Uses a profiled or layered structure to help reduce the transfer of limited in-plane stresses from the substrate to the tile covering. Can help accommodate some substrate movement, but it does not correct structural movement, unstable framing, or improperly placed joints. Movement joints are still required. Concrete slabs, heated floors, renovation projects, and tile installations where minor substrate stress is a concern.
3 Choose between sheet and liquid installation Sheet membranes: polyethylene, PVC, CPE, or composite fabrics

Liquid membranes: polymer-modified or elastomeric coatings
Sheets provide a factory-controlled thickness; liquids conform easily to irregular shapes and penetrations but depend on correct application thickness. Sheets usually offer predictable coverage and fast visual inspection. Liquids reduce seams but require wet-film or coverage control and adequate curing time. Use sheets for consistent thickness and larger flat areas; use liquids for complex layouts, corners, drains, niches, and uneven geometry.
4 Check crack-bridging and load performance Elastomeric liquid membrane or reinforced sheet membrane Flexible systems can bridge limited non-structural cracks when installed at the specified thickness and reinforced where required. Review tested crack-bridging results, tensile strength, elongation, and any requirements for fabric reinforcement. Performance varies significantly by formulation and thickness. Renovations, concrete substrates with minor cracking, and installations exposed to moderate thermal or moisture-related movement.
5 Consider vapor transmission and drying conditions Cementitious waterproofing membrane or vapor-control sheet membrane Cementitious systems are mineral-based and may be relatively vapor permeable; polyethylene, PVC, and CPE sheets are generally low-permeance materials. Select according to the direction and source of moisture. A low-permeance membrane may restrict drying, while a more vapor-permeable system may be unsuitable where vapor control is required. Basements, exterior-facing walls, steam rooms, and slabs should be assessed for moisture conditions before membrane selection.
6 Verify compatibility and installation limits All membrane categories Compatibility depends on the substrate, tile adhesive or mortar, primer, sealant, drain, backer board, and joint-treatment components. Check allowable substrate moisture, surface temperature, curing time, coverage rate, seam treatment, tile size, and maximum exposure conditions in the technical data. Every installation; especially critical for wood-based substrates, gypsum-based boards, radiant-heated floors, and exterior applications.
7 Prioritize detailing at joints and penetrations Reinforced sheet, liquid-applied, or hybrid membrane system Waterproofing reliability depends heavily on corners, changes of plane, movement joints, drains, valves, pipes, and fastener penetrations. Use the specified sealant, banding, reinforcing fabric, collars, and drain connection method. Do not rely on tile grout alone as a waterproofing detail. Showers, wet rooms, balconies, terraces, and any installation with numerous penetrations or changes in plane.

Note: Performance values and installation requirements vary by membrane formulation and system design. Always verify the current technical data, test classification, substrate limitations, and local building requirements before installation.

Verifying Tile, Adhesive, and System Compatibility

7 Tips for Choosing the Best Under Tile Membrane

Choosing an under tile membrane starts with the entire installation system, not the membrane alone. The tile, adhesive, substrate, and membrane must work together. A large porcelain tile may need different support than a small ceramic tile. Check the membrane’s technical data for approved tile sizes, adhesive types, and substrate conditions. Do not assume waterproofing also provides crack isolation.

The adhesive deserves careful attention. Some membranes accept cement-based mortar, while others require a specific setting material. Confirm open time, curing conditions, and moisture limits before installation. A damp concrete slab can affect bonding, even when the surface looks clean. I once underestimated surface preparation on a small bathroom project. The membrane appeared secure, but poor cleaning created weak spots. That mistake was avoidable.

Look for tested system guidance, not vague compatibility claims. Review installation instructions, product classifications, coverage rates, and movement-joint requirements. A quick test area can reveal poor adhesion, curling edges, or difficult trowel coverage. Allow it to cure fully before checking the bond. Also verify transitions around drains, walls, and doorways. These details often decide whether the system performs reliably. When instructions conflict, pause and request written clarification from a qualified technical professional. Guessing saves minutes, not repairs.

Evaluating Installation, Certifications, Warranty, and Cost

Choosing an under-tile membrane requires more than comparing roll prices. Installation details often decide whether a tiled floor stays dry and stable. In practice, I inspect the substrate, check the slope, and remove dust before opening the membrane. A clean, sound surface matters.

The sheet should lie flat, with seams overlapped or sealed exactly as instructed. Corners, drains, and pipe openings deserve extra attention because small gaps invite moisture. Some systems need compatible mortar or primer. Never assume common adhesive is suitable.

Certifications provide useful evidence, but they are not decoration. Look for independent testing, clear performance ratings, and standards accepted in your region. Confirm what was tested: waterproofing, crack isolation, vapor control, or all three.

Installation guidance should include coverage, curing time, temperature limits, and approved accessories. If instructions seem vague, pause. An experienced installer can expose problems before tiles hide them. I have learned that rushing this inspection creates expensive rework.

Read warranty terms before purchase. Check duration, required installation records, exclusions, and whether labor is covered. Keep invoices, batch details, and photographs of prepared surfaces.

Cost should include membrane, primer, sealant, tools, delivery, and possible repairs. A low-priced product may demand more labor or special components. Yet the most expensive option is not automatically the safest. Compare documented performance with actual project needs.

My own estimates are sometimes wrong when waste and detailing are ignored. Leave room for mistakes. Real floors rarely match showroom conditions.

Resources

Copyright © CUSTOM Building Products 2025
Products | Resources | Interactive Tools | Warranties | Privacy Policy | Terms of Use | Technical Training