Under Tile Membrane Installation Tips for Beginners?
Installing an under tile membrane can be challenging for beginners. However, having the right guidance makes the process smoother. Renowned expert James Carr, who specializes in flooring, once said, "A good installation sets the foundation for everything that follows." This highlights the importance of proper techniques in creating a lasting floor.
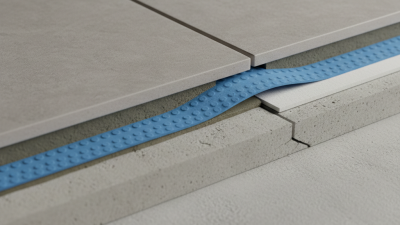
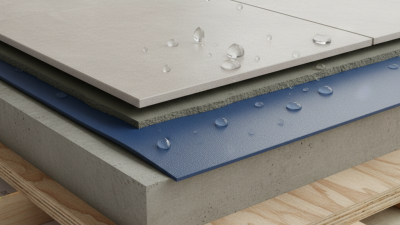
An under tile membrane is essential for moisture control. It helps prevent water damage and mold growth. Understanding how to install it correctly can save you from costly repairs later. Many beginners make common mistakes that can lead to leaks and other issues. For instance, improper alignment can compromise the membrane's effectiveness.
Attention to detail is crucial. Ensure the surface is clean and dry before installation. Additionally, consider the type of tiles you are using. Not all tiles pair well with every membrane. Reflecting on these aspects is vital for success. Missteps can happen, but learning from them is part of the journey.
Understanding Under Tile Membranes: Basics for Beginners
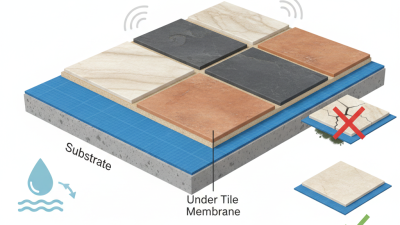
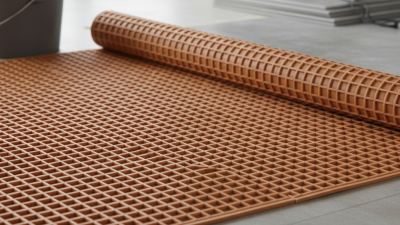
Understanding under tile membranes is essential for any beginner looking to install tiles effectively. These membranes serve as a protective barrier between the tile and the substrate. They help to prevent moisture damage and enhance the longevity of your tile installation. When selecting a membrane, consider the area. Wet areas, like bathrooms, often need a waterproof membrane.
Installation can seem daunting. Start by ensuring your surface is clean and dry. Apply the membrane according to the manufacturer’s guidelines. Keep in mind that not all membranes are the same. Some are peel-and-stick, while others require a mortar application. Ensure you read the instructions thoroughly. Even small mistakes can lead to bigger issues down the line, such as leaks or uneven surfaces.
Pay attention to seams and overlaps. These areas need extra care during installation. A common pitfall is not applying enough pressure to the membrane. This can lead to air pockets, reducing effectiveness. Rushing through the installation is a frequent issue. Taking your time will yield better results. Remember, each step is crucial for a successful tile installation.
Essential Tools and Materials for Membrane Installation
When it comes to under tile membrane installation, having the right tools and materials is crucial. A study by the National Tile Contractors Association indicates that improper installation can lead to moisture problems, resulting in costly repairs. To avoid these issues, beginners should gather essential tools first. A utility knife is vital for cutting membranes accurately. Waterproof tape is necessary for securing seams. A roller helps to ensure a solid bond between the membrane and substrate.
Additionally, choosing the correct type of membrane is fundamental. Research shows that polyethylene and rubber membranes vary in performance and suitability. For instance, polyethylene membranes are effective in areas with high humidity. On the other hand, rubber membranes are more durable in fluctuating temperatures. Each option comes with unique installation requirements.
Reflecting on the installation process is important. Mistakes may arise, such as failing to overlap seams or not ensuring a smooth substrate. These oversights can lead to water infiltration and mold growth. Experienced installers suggest taking extra time to ensure every step is executed perfectly. As you familiarize yourself with the installation process, remember that diligence and attention to detail are key factors for successful results.
Under Tile Membrane Installation Tips for Beginners
| Tool/Material |
Description |
Purpose |
| Under Tile Membrane |
Waterproof layer placed beneath tiles |
Prevents water damage and mold growth |
| Trowel |
Flat tool with a handle |
Used to spread thinset or adhesive |
| Roller |
Tool for applying adhesive evenly |
Ensures full contact of membrane |
| Utility Knife |
Sharp knife for cutting materials |
Used for trimming membrane edges |
| Measuring Tape |
Flexible ruler for measuring |
Helps in cutting accurate sizes |
| Tile Spacers |
Small plastic pieces |
Keeps even gaps between tiles |
Preparing the Subfloor: Steps for a Solid Foundation
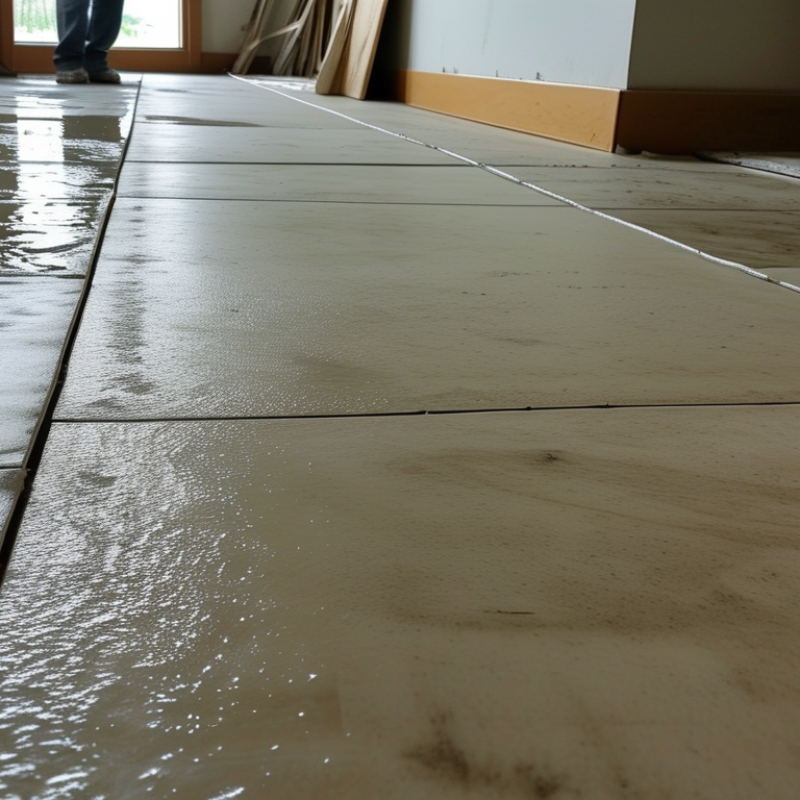
Preparing the subfloor is crucial for a successful under tile membrane installation. A solid foundation can reduce moisture issues and enhance the longevity of your tiles. Begin by ensuring the subfloor is clean, dry, and level. Industry reports indicate that nearly 30% of tile installations fail due to improper subfloor preparation. Any imperfections can lead to cracking or lifting of tiles.
Measure the subfloor’s flatness carefully. Variations greater than 1/8 inch over 10 feet are problematic. Use a leveling compound to address any low spots. It is often recommended to wait 24 hours after applying the compound before proceeding. This will allow it to cure properly and ensure a stable base.
**Tips:** Always check for moisture. A moisture meter can prevent costly mistakes. If the subfloor is wood, take measures to address potential warping or expansion. Use a vapor barrier for added protection against moisture. Consider using plywood for added strength if the subfloor is not stable. Don't overlook these details; they are vital for achieving a durable floor that stands the test of time.
Installing the Under Tile Membrane: A Step-by-Step Guide
Installing an under tile membrane is crucial for ensuring a long-lasting and water-resistant floor. This step-by-step guide will walk you through the essentials of installation, providing insights based on industry standards. Research indicates that improper installation can lead to 30% of tile failures. Therefore, attention to detail is critical.
Begin by measuring the area accurately. Make sure the subfloor is clean and dry. Any debris can affect adhesion. Use a high-quality adhesive for your membrane. Studies show that membranes installed with the right products reduce moisture damage by over 60%. Applying the membrane requires a steady hand; even slight misalignments can result in future problems.
Once laid out, allow the membrane to cure as per the manufacturer’s instructions. It is tempting to rush, but patience pays off. Inspecting for any bubbles or creases is essential. These imperfections can be traps for moisture. Make sure to double-check your measurements throughout the process. After all, a well-installed membrane can significantly enhance the longevity of your flooring, saving time and costs in future repairs.
Under Tile Membrane Installation - Key Steps and Time Estimates
Common Mistakes to Avoid During Membrane Installation
Installing under tile membranes can be challenging, especially for beginners. A common mistake to avoid is neglecting surface preparation. Ensure the surface is clean, dry, and free of debris before starting. Even small imperfections in the substrate can lead to significant issues later.
Another issue is poor adhesive application. It’s essential to follow the manufacturer’s recommendations for adhesive type and application method. Uneven adhesive can cause the membrane to fail, leading to water damage. Take your time with this step to ensure complete coverage.
Using the right tools significantly impacts the outcome. A straightedge and trowel are necessary for precise application. However, beginners often underestimate the importance of these tools. In some cases, people rush their work and regret the corners cut later on. Pay careful attention to every detail. It’s better to invest time now than to face costly repairs down the line.