



Kitchen Pendants can shape a room’s character, but their everyday usefulness matters just as much. A fixture may look perfect online and still feel too bright, too low, or poorly placed above your island. The right choice depends on the room’s dimensions, ceiling height, work habits, and existing light. Small details matter.
Before comparing styles, measure the surface and note where people sit, prepare food, and walk. Pendant spacing should provide even coverage without blocking sightlines or creating glare. A single large shade may suit a compact table, while several smaller fixtures can balance a long island. These are starting points, not fixed rules; ceiling shape and fixture design affect the result. Check the manufacturer’s installation guidance.
Light quality deserves equal attention. Consider bulb brightness, color temperature, shade material, and dimming compatibility. Warm light can make wood and meals feel inviting, while brighter, clearer light can help with detailed kitchen tasks. Yet photographs rarely show how a finish will look in your home. It is worth checking samples in person.
This guide shares 10 Tips for Buying Kitchen Pendants, from choosing scale and placement to reviewing materials, maintenance, and installation requirements. It focuses on practical questions, not trends alone. A beautiful fixture is not automatically a useful one. Still, no checklist can predict every room. Use these tips to compare options, and consult a qualified electrician when wiring or mounting conditions are uncertain. A little measuring now can prevent an expensive mismatch later.
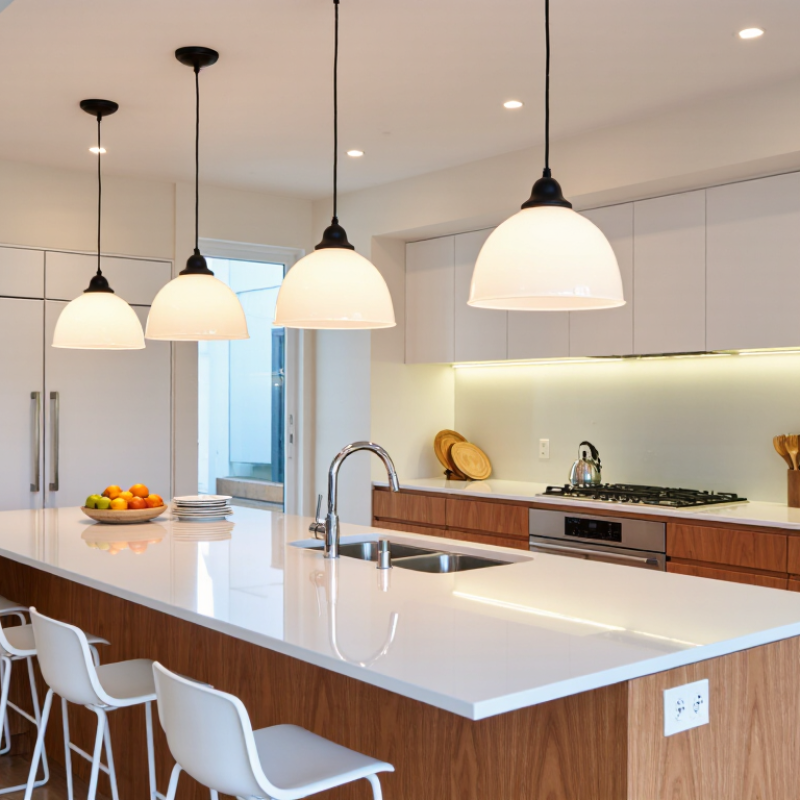
Before choosing pendant size or style, assess what your kitchen needs light for. Measure the island or table, note the ceiling height, and identify dim corners or shadows on the worktop. If you often chop vegetables beneath a cabinet, a pendant alone may not solve the problem; under-cabinet lighting may be needed too. A quick evening check can reveal where light is actually missing. Bright light matters.
For an island, center the fixtures over the usable surface, not necessarily the room. With multiple pendants, even spacing helps distribute light and keeps the arrangement balanced. Leave enough clearance so the shades do not block sightlines across the kitchen. Stand at the counter and look toward the sink and seating area before settling on a height. Small changes help. The right position depends on your ceiling, shade size, and how people use the space.
Consider how pendant light will work with existing ceiling fixtures and daylight. A clear shade can feel bright but may create glare, while an opaque shade can leave the counter dim. Dimmers offer flexibility for cooking and relaxed meals, though they do not replace useful task lighting. It is easy to focus on appearance and underestimate shadows. Test the layout with temporary markers, such as paper circles on the ceiling, then reconsider if the spacing feels crowded.



Copyright © CUSTOM Building Products 2025
Products | Resources | Interactive Tools | Warranties | Privacy Policy | Terms of Use | Technical Training
