How to Use Redgard Waterproofing and Crack Prevention Membrane Effectively?
In the world of construction and renovation, effective waterproofing is crucial. The "redgard waterproofing and crack prevention membrane" offers exceptional protection against moisture and cracks. According to industry expert Mark Thompson, "Proper application of Redgard can save costly repairs down the line." His insights highlight the importance of correct usage.
Redgard acts as a barrier that prevents water from seeping through surfaces. It is vital to ensure the surface is clean and well-prepared before applying this membrane. A common mistake is rushing this process. Many overlook proper drying times and layers. This can lead to more issues later.
Using Redgard effectively requires attention to detail and patience. It can be tempting to skip steps, but this may lead to failure. Observing application guidelines is essential. Always remember that quality work today prevents problems tomorrow. With the right approach, the benefits of the redgard waterproofing and crack prevention membrane are immense.
Understanding Redgard Waterproofing and Crack Prevention Membrane
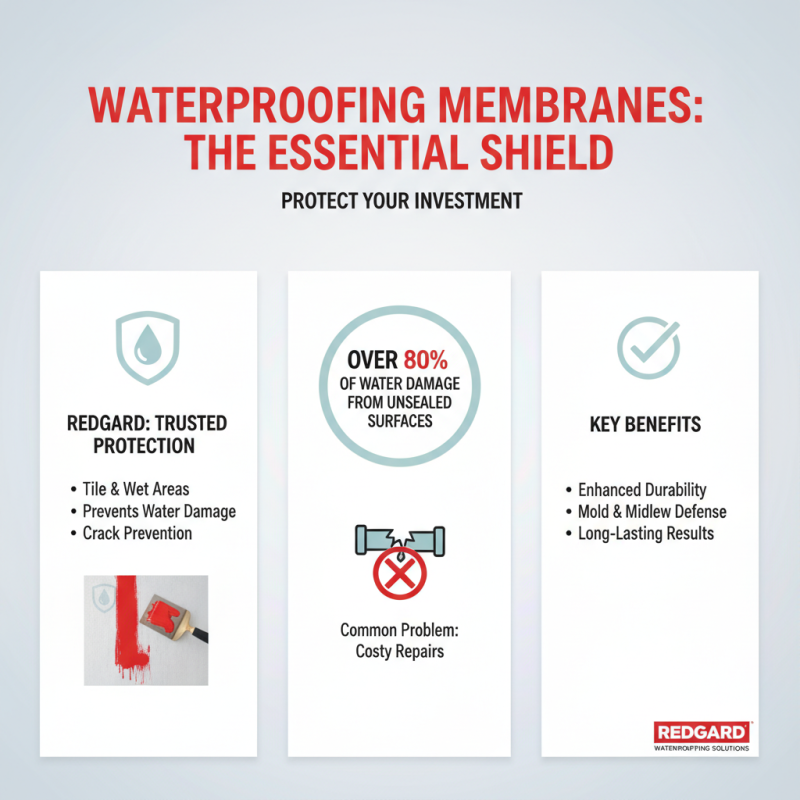
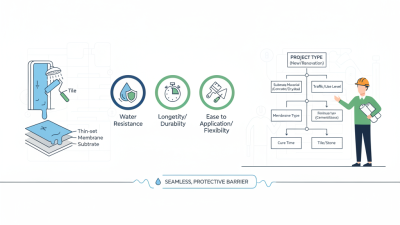
Understanding the use of waterproofing membranes is crucial in construction. Redgard waterproofing and crack prevention membranes are commonly employed for tile installations and wet areas. This type of membrane effectively prevents water damage, a significant concern in residential and commercial buildings. According to data from industry reports, over 80% of water-related damage stems from improperly sealed surfaces.
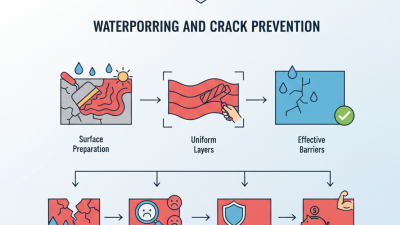
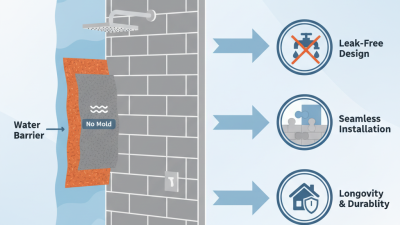
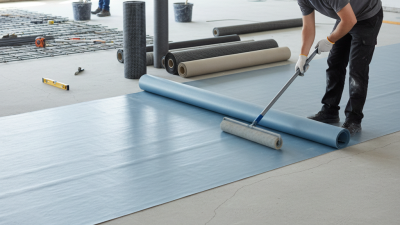
These membranes are designed to be applied in a thin layer, creating a barrier against moisture. They also help manage cracks in surfaces, which can compromise the integrity of structures. It is essential to prepare the application surface thoroughly. Thorough cleaning and drying reduce the risk of adhesion failure. Studies show that up to 15% of waterproofing systems fail due to inadequate surface preparation.
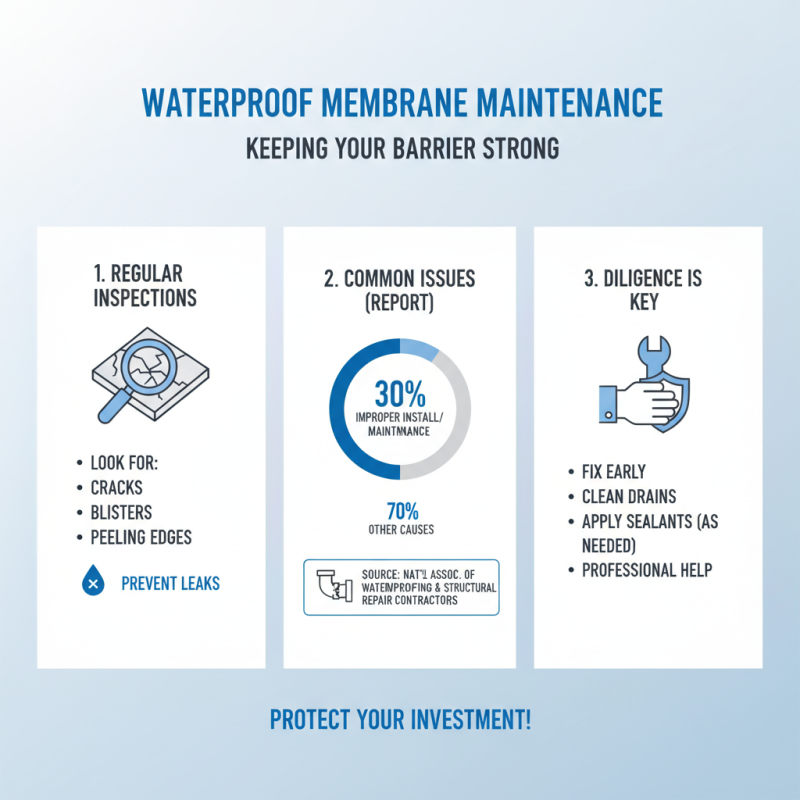
Despite their effectiveness, some common mistakes can undermine these membranes. Overly thick applications can lead to poor curing, affecting performance. It’s crucial to adhere to application guidelines closely. Regular inspections after installation are also crucial to ensure durability. As the industry evolves, contractors must be aware of best practices to maximize the benefits of waterproofing systems.
Pre-Application Surface Preparation Techniques for Redgard
When preparing the surface for a waterproofing membrane, attention to detail is crucial. Start by ensuring the surface is clean and free from debris. Dust and dirt can prevent proper adhesion, leading to future issues. Use a vacuum or broom to remove all particles. Next, check for cracks or holes. These should be patched before applying the membrane. An uneven surface can create weak points, risking water penetration.
Tips: Always test the surface moisture level. If it feels damp, allow it to dry before proceeding. Additionally, consider using a primer for extra adhesion on slick surfaces.
After cleaning, the next step is to ensure proper texture. A rough surface helps the membrane stick better. If the surface is too smooth, lightly sand it. Inspect the area for any mold or mildew. Treat these spots before application to avoid future problems.
Tips: Don't rush this process; it can save you time later. Apply a small section of the membrane first. Ensure it adheres correctly before continuing.
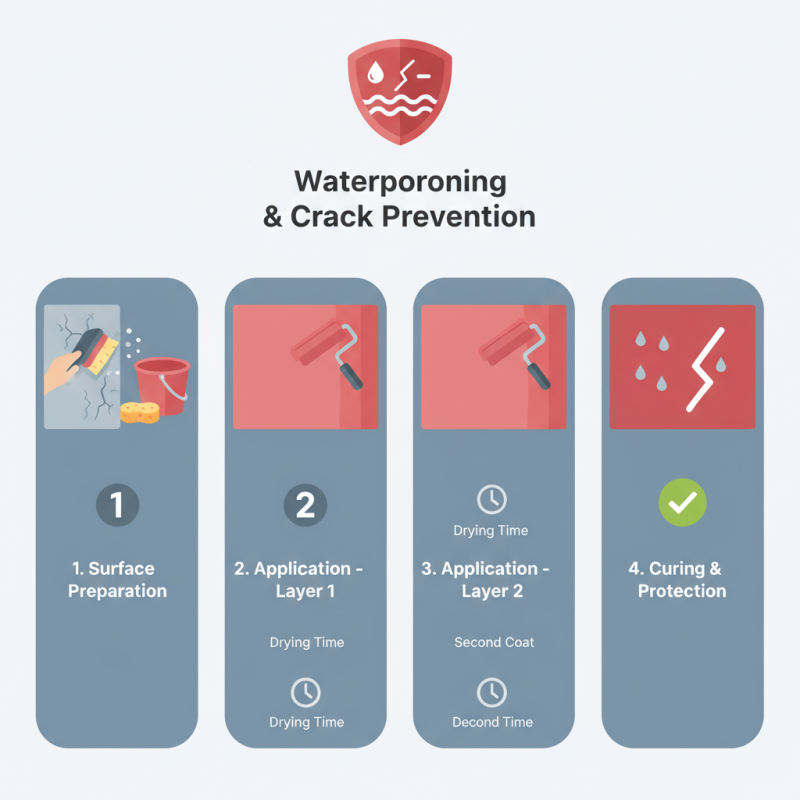
Step-by-Step Application Process of Redgard Membrane
Applying a waterproofing and crack prevention membrane can be straightforward if you follow the steps carefully.
Begin by preparing the surface. Ensure that it is clean, dry, and free of debris.
This initial step is crucial. Any contaminants can affect adhesion. Pay close attention to corners and edges.
These areas often need extra care.
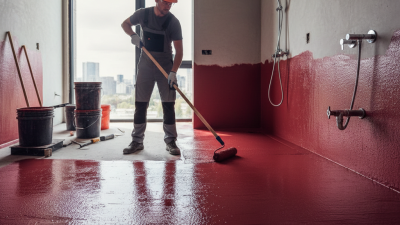
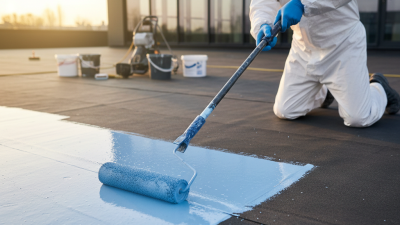
Next, apply the membrane. Use a roller or a brush for even coverage. Make sure to work in small sections.
It allows you to see where you may have missed spots. Watch for bubbles or inconsistencies.
They can weaken the application. If you spot them, you may need to smooth them out or apply an additional layer.
Tips to keep in mind: always read guidance on application temperatures.
Extreme temperatures can affect drying times. Additionally, remember to wear protective gear.
Spills can happen, and safety should come first.
Reflect on your technique after each application.
Adjust as needed for future projects to improve your results.
Tips for Achieving Optimal Drying and Curing Conditions
To achieve optimal drying and curing conditions for waterproofing membranes, maintaining the right temperature and humidity levels is essential. Ideally, temperatures should range from 50 to 90 degrees Fahrenheit during application. Higher temperatures can speed up drying, but excessive heat may lead to cracking. A study by the American Society of Concrete Contractors shows that drying membranes too quickly can compromise their effectiveness.
Humidity plays a critical role as well. Optimal humidity levels should be between 30% and 70%. When humidity is too high, the membrane may not cure properly, leading to potential moisture issues in the future. Using a hygrometer can help monitor these levels accurately. For instance, some contractors have reported that using fans can help regulate air circulation, though this approach has its flaws. Over-reliance on fans may also lead to uneven drying.
It's worth noting that surfaces should be prepped meticulously prior to application. Imperfections can impact the final outcome. Ensuring proper surface clean-up often gets overlooked. A dirty surface can lead to adhesion issues. Therefore, taking time to inspect and clean prior to application can save future headaches. Adjustments in approach based on specific conditions can also be necessary. Flexibility is key.
Effectiveness of Redgard Waterproofing in Different Conditions