


Waterproofing failures rarely begin with a dramatic leak. More often, a damp corner, blistered coating, or musty smell signals that a roof, basement, or wet room needs closer attention. Choosing the best waterproofing membrane can help prevent costly repairs, but no single product suits every project. Climate, substrate condition, water pressure, installation access, and exposure to sunlight all affect performance.
This guide compares seven membrane types and products for global buyers, including sheet membranes, liquid-applied coatings, and cementitious systems. It considers practical details: how a membrane handles corners and pipe penetrations, whether it needs a primer, and how much surface preparation crews must complete. Small details matter. A high-performance membrane can still fail over dusty concrete or poorly sealed joints. That point is easy to overlook when comparing prices.
Buyers should review current technical data sheets, independent test information where available, and local project requirements before ordering. Check coverage rates, curing conditions, packaging, storage needs, and compatibility with adhesives or protective layers. Ask suppliers for written guidance on installation and warranty terms. A brochure is not proof of long-term performance. Even careful comparisons have limits: site workmanship and drainage can matter as much as the membrane itself. The selections ahead offer a useful starting point, not a substitute for project-specific assessment.
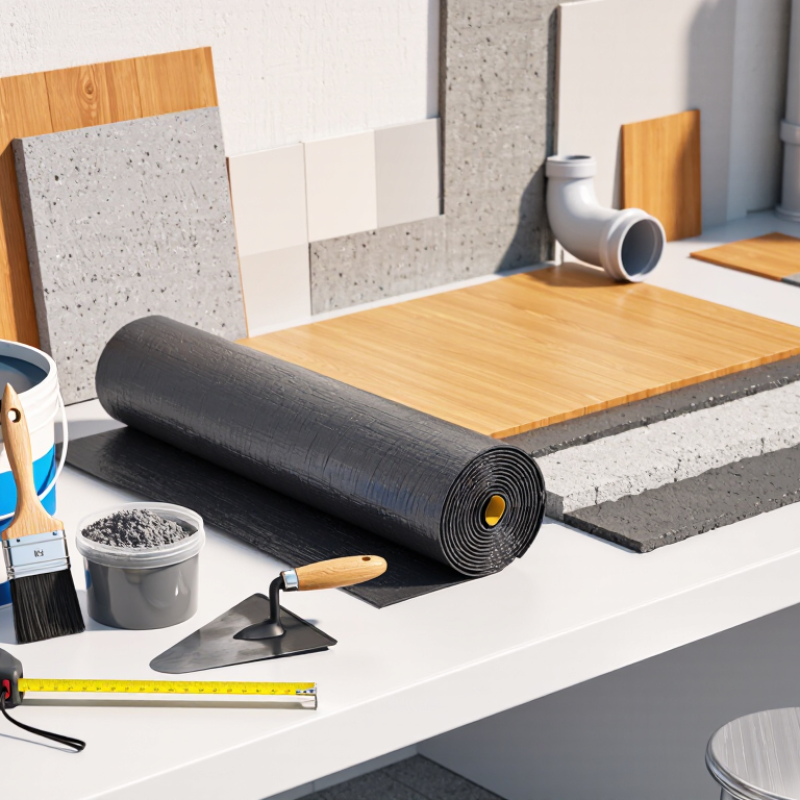
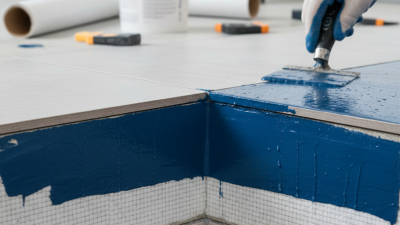
Waterproofing membranes are flexible barriers that stop liquid water from entering roofs, basements, balconies, and foundations. They usually contain bitumen, polymers, rubber, or cementitious compounds. Sheets are bonded over surfaces, while liquid membranes cure into seamless coatings. The difference matters. A small gap around a pipe can defeat an expensive system.
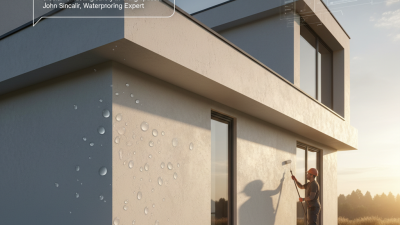
Water damage is not merely cosmetic. The World Health Organization’s 2009 review on dampness and mould found consistent links between damp buildings and respiratory symptoms. The U.S. Environmental Protection Agency also reports that indoor pollutant levels can be two to five times higher than outdoor levels. Membranes reduce this risk by controlling moisture before it reaches insulation, concrete, or occupied rooms. Drainage layers and properly sealed joints remain essential.
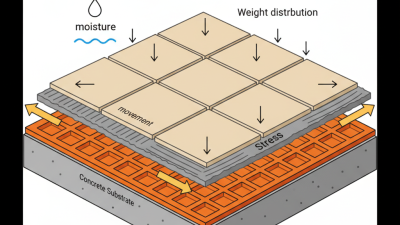
For global buyers, selection should follow exposure and installation conditions. Self-adhered sheets suit controlled surfaces, while torch-free systems can improve site safety. Cementitious membranes work well on mineral substrates, but movement may cause cracking. Liquid-applied products cover irregular details effectively, though curing depends on temperature and humidity. ASTM testing can compare water penetration, adhesion, and crack-bridging performance. Still, test results are not field reality. Dust, poor laps, and rushed detailing often create failure. UNEP’s 2023 Global Status Report notes that buildings produce about 37% of global energy-related emissions, making durable repairs increasingly important. A membrane should protect the building, not become another short-lived replacement.




Copyright © CUSTOM Building Products 2025
Products | Resources | Interactive Tools | Warranties | Privacy Policy | Terms of Use | Technical Training
